My RC Lunak glider
(from the Mick Moore plan)
My preferred rc discipline is slope soaring and although I've got a fairly good mix of gliders, I thought it was about time I built a nice scale one.
When I started my search, I didn't really know what I wanted - but I did know that I wanted something different to the widely modelled ones (particularly in the ARTF market) such as the K8, Blanik, Bergfalk etc.
I looked at many different types of glider on various websites, both models and full size, and as soon as I saw a picture of a Lunak, I knew that was the one for me!
I'd not seen one before (not sure how) and its smooth lines and big bubble canopy really appealed to me. So an RC Lunak glider it was!
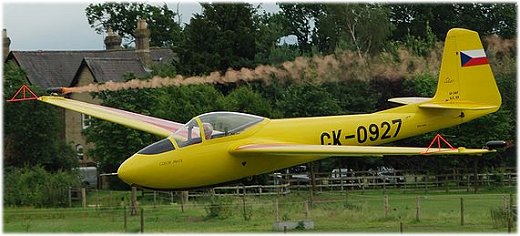
The only flying full size Lunak in the UK. (Photo by TRSL/Wikipedia).
The Lunak is a Czechoslovakian vintage aerobatic glider that dates back to the late 1940s, initially designed by a Rudý Letov. The full name of the glider is a Letov LF-107 Lunák (lunak being Czech for kite - as in the bird, not the toy).
Only 75 full size ones were produced before World War 2 interrupted things and the factory was used to make various MiG aircraft. Consequently there is only a handful of full size Lunaks left in the world. Here in the UK there is only one flying example, the nicely named "Czech Mate".
To my eyes the Lunak has lovely lines and its mid-wing configuration really appeals to me; I have a Graupner Swift which has a similar design and it's such fun to fly. So it was a no-brainer, as they say, that the Lunak was for me.
Once settled on which type of glider I wanted to build, I then had to search for a suitable plan or kit. I quickly discovered that there aren't any kits around, and so a plan was the only option. After searching and asking on a couple of internet forums, the Mick Moore plan soon came to light. The size was perfect for what I wanted, as I was hoping to build something around the 3m wingspan mark. At 2.8m (112") span, the Lunak is 1/5 scale - bigger than my other gliders, but not too big to be a nuisance to store and transport. Perfect!
Incidentally, the plane is available here in the UK from MyHobbyStore.
A few small tweaks
I'm no stranger to building from a plan, but hadn't built for years and years. I admit to getting quite excited when the plan arrived in the post, and my immediate reaction was how big the glider was compared to the rest of my fleet. It's by no means a large-scale rc glider, but when I laid out the plans (2 sheets) I was surprised!...
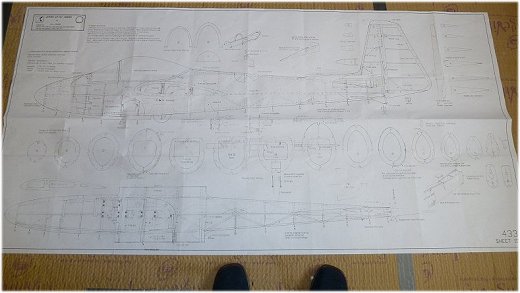
My feet lend scale to the plan size.
I spent a good deal of time studying the plan and drawing up a cutting list. The plan calls for much of the glider to be sheeted in 1/64" ply, but fellow Wessex Soaring Association member and large-scale glider guru Chris Williams suggested I use 1/16" balsa instead - much cheaper to buy and easier to repair!
Another big change I wanted to make was to add flaps - the full size has Fowler type flaps but there are no flaps on the plan. I wasn't going to attempt Fowler flaps but opted for standard ones, so drew them in and amended the plan accordingly after scaling them off a 3-view of a full size Lunak.
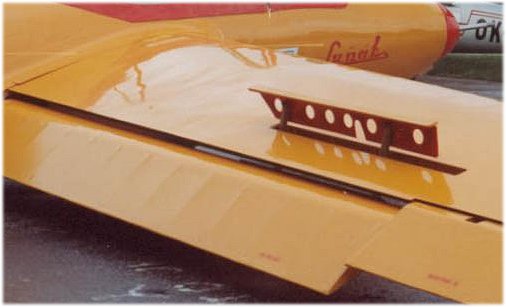
I also wanted to replicate the Schempp-Hirth air brakes of the full size, whereas the plan only called for a single brake coming up from each top wing surface. That was a decision that would later cause me much frustration and time, but ultimately very rewarding.
Let the build commence...
After ordering the wood and other bits from Slec (brilliant service and you can specify different grades of balsa) I began with the tailplane and fin, to ease myself in to the build. It certainly felt good to be building again!
The wings were next and the fuselage was done last. I was happy to take my time over this build, and it was going to take as long as it took. The aim was to maiden it in the summer (2015) but that just didn't happen and I wasn't going to rush things for the sake of it.
There were the inevitable complications with the build, and I found some fairly large inaccuracies in the plan - for example the longeron cutouts in the fuselage formers didn't all line through as they should have done. Also, some wing rib sizes didn't seem to be as they should, which is no minor issue for a plan!
So the reality was that some adjustments did need to be made, and I wouldn't recommend this build to anyone with little or no plan-building experience.
Anyway, as I sit writing this page I realise just how few photos I took of the build. Sorry about that.
The reason? Simply because this website (and the forum when it was in existence) sometimes takes the fun out of the hobby. For over ten years I've had that "must take a photo to put on the website" mentality whenever I've done anything rc related. But this time I wanted to enjoy this Lunak build without having to document every step of the way and, again, I can only apologise.
If you intend building this Lunak and have any questions you can e-mail me and I'll do my best to help.
So without further ado, here are the few pics that I did take. Click for a larger version...
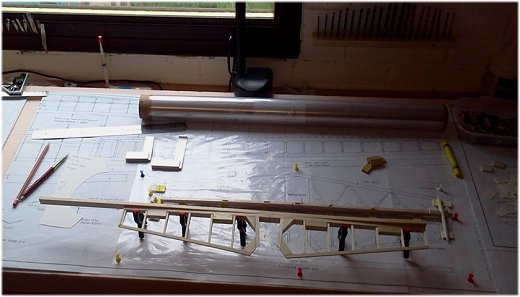
Above: the build got underway with the tailplane and fin, as this is a good way of easing in to things.
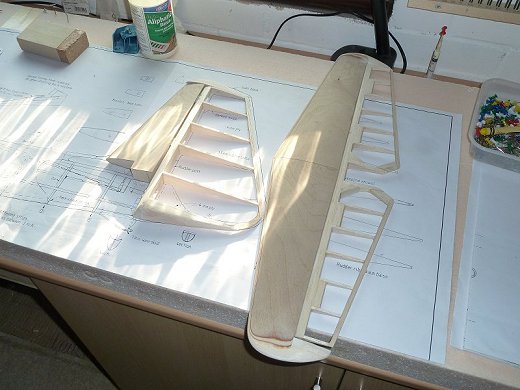
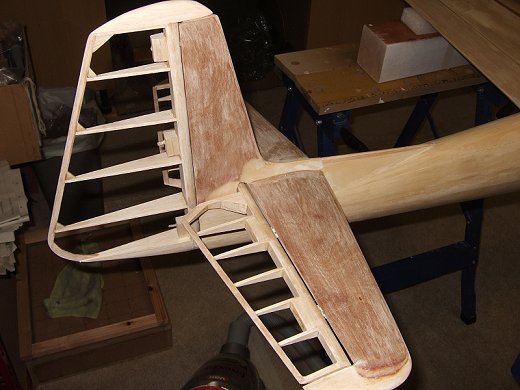
Above: the complete Lunak tailplane and fin. I later added some fillet pieces at the rear end of each rudder rib, to strengthen things up a little. The sheeting is the specified 1/64" ply.
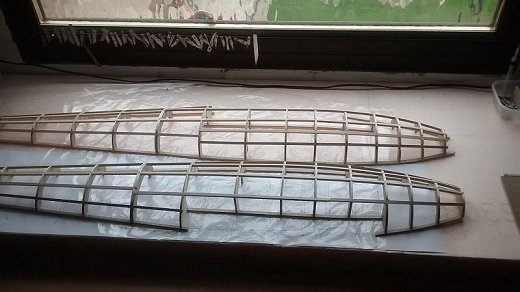
Above: the fuselage is built in two halves which are then joined. A bit fiddly and lots of care is needed to get things straight. The formers are either 3mm ply, where strength is needed around the wing joiner etc., or 1/8" balsa skinned with 1/64" ply one side. Excuse my mixing of metric and imperial measurements here!
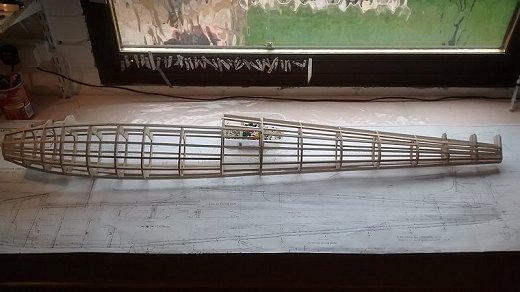
Above: both fuselage halves joined together and waiting to be skinned. It will be planked with 3/32" balsa strips back to the rear of the cockpit, then 1/16" balsa sheet back to the tail, rather than the 1/64" ply as specified on the plan.
Above: the tailplane resting in place. The full size Lunak has shrouded control surface joints but these are difficult to replicate on an rc model, so mine are 'part-shrouded' - a fair compromise, and the best I could achieve. Unfortunately the very rear fuselage former is a bit too wide so all shrouding is completely lost at the bottom of the rudder.
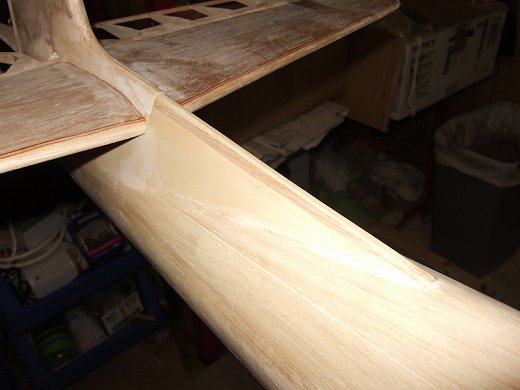
Above: the fairing to the tailplane was made with a 1/8" balsa central spine and then "Super Lightweight Fairing Compound" from Bucks-Composites was used to shape it. This is a powdery compound that is mixed with epoxy resin, and works very well.
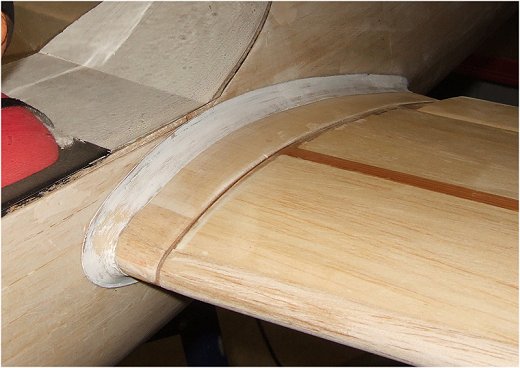
Above: the wing fairings were made with the same compound, only this time on to a 1/64" ply shoulder plate. These were a bit more involved but turned out ok.
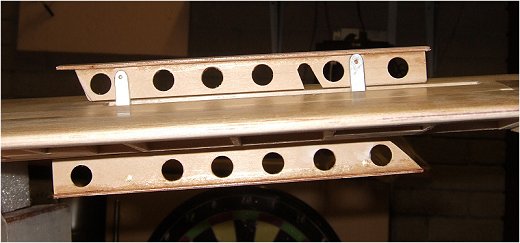
Above: my Schempp-Hirth air brakes. Oh the pain these things caused me! Despite me drawing them out on paper first and meticulously working out all the measurements, it still took three sets of them before I got them to work. Let's just say that the wings nearly went over my knee on more than one occasion!
I'm glad I persevered though, and below is a little video of them in action. Travel needs to be increased but this was just the test.
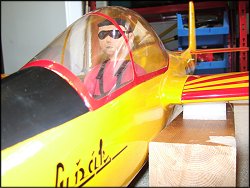
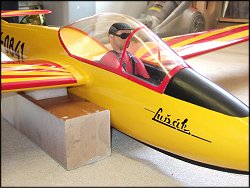
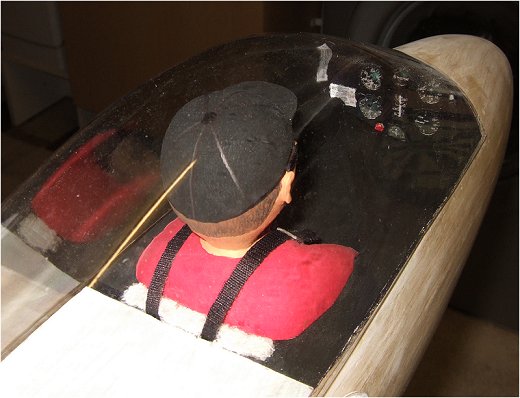
Above: the large bubble canopy justifies a full-scale cockpit and top notch pilot figure, but my thoughtless positioning of the servo tray meant that I couldn't do it. So instead I opted for an instrument panel printed from a photo and a hand-carved pilot bust, as I couldn't find a nice 1/5 scale glider pilot half-figure.
You can read more about making an rc glider canopy here.
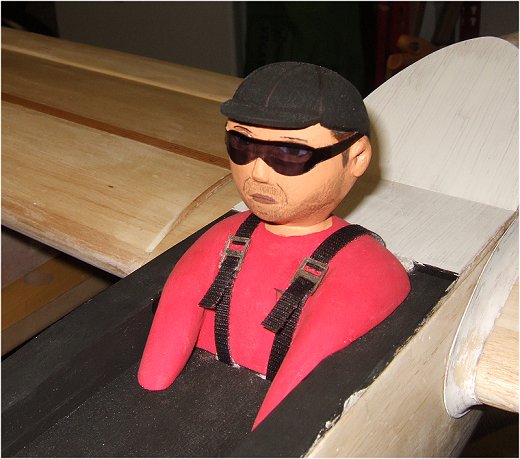
Above: OK, so he looks a bit miserable but it's the best I could do! The sunnies were made from thin acetate coloured with black marker pen, and the baseball cap was just painted on, with a balsa peak. The harness I made from strips of velcro and the buckles from 1/64" ply.
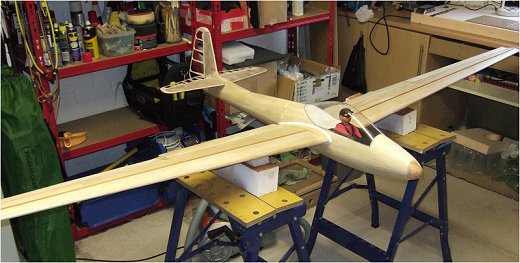
Above: just about ready for covering, my 1/5 scale rc Lunak glider. Just over one year to get this far.
So at the time of writing (November 2015) this is as far is it has got. I'll obviously complete this page as and when the glider gets covered etc. So please keep checking back, and get in touch if you have any questions about this rc Lunak glider.
2016 Lunak update
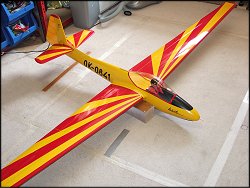
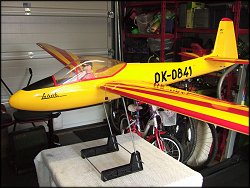
So, after what seemed like forever, I finally finished my Lunak. Phewee! What a build!
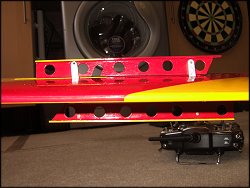
I used Solarspan to cover it and Solartrim for the red flashing. I had custom decals done, these were produced by myself on the computer and then sent off to someone to be cut out on self-adhesive vinyl. All in all I'm very happy with the end result.
To date, it's only flown several times and needless to say the maiden was pretty nerve-racking, to say the least. A club mate of mine took responsibility of the launch, so I could have both thumbs on sticks.
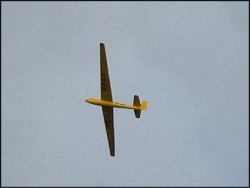
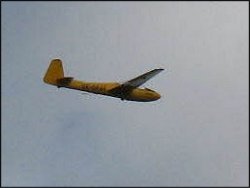
I'm pleased to report that it flew beautifully, with a perfect scale look in the air, with that slightly nose-down stance. I don't have enough faith in the wing strength to do hard aerobatics, but it seems to cope well with scale aerobatics - loops, slow rolls etc.
One memorable flight resulted in a land-out in a field at the bottom of the slope, after I stupidly launched it in marginal conditions. My heart was in my mouth for the entire flight, and I had to use all my experience to stop it stalling and spinning in to the slope on several occasions. About halfway through the flight I'd actually resigned myself to the fact I'd be taking it home in a plastic bag, but thankfully that wasn't the case. God bless soft crop!
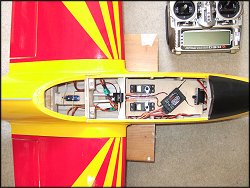
As yet I don't have any flight video, but below are photos of my finished Lunak. Click on an image for the larger version:
